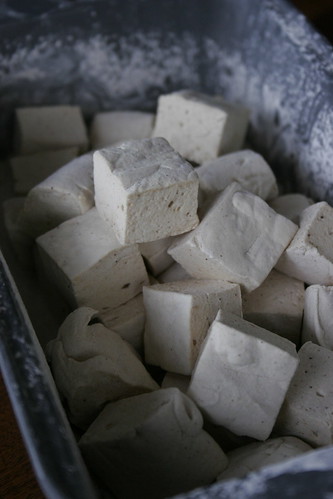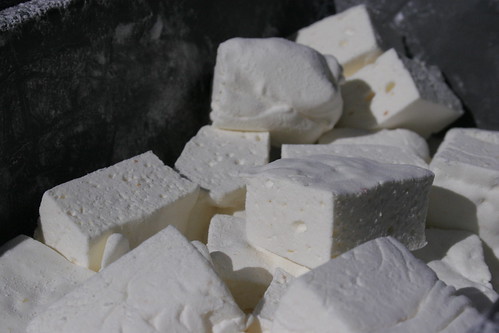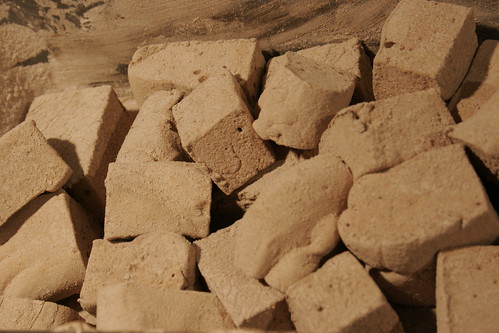
What follows is the base recipe. It's kinda long because a) I talk a lot and b) sugar is terrifying so I wanted to explain myself superextra clearly. To minimize v-scroll here, I'll do a followup post in a couple days with some notes on flavorings.


Homemade Marshmallows
Adapted from Alton Brown. You can watch the 'Puff the Magic Mallow' episode of Good Eats to see the general process, but I actually don't recommend following all of his instructions from that episode.
Makes ~24 1.5-inch marshmallows or ~32 1-inch marshmallows
INGREDIENTS
1 package gelatin
1/6 cup cold water
1/2 cup granulated sugar
1/3 cup light corn syrup
1/6 cup water
Pinch salt
1/3 tsp vanilla extract
1/4 cup cornstarch
1/4 cup powdered sugar
~1/2 tbsp butter or oil or etc. for greasing
EQUIPMENT
Stand mixer with whisk attachment
2 spatulas (preferably 1 stiff one for scraping and 1 large & softer one for pressing)
Medium saucepan
Bread pan
Fine-mesh sieve (you can also use a tea strainer with patience)
1 ramekin/small bowl
1 small (~1-cup) container with lid
Candy or probe thermometer
Timer
PREP
Working with sugar is scary because it requires both speed and caution. I like to prepare all of my ingredients & equipment before I start so's I won't forget something and end up with no place to put boiling edible napalm. So.
Prep the gelatin: Empty 1 packet of gelatin into a small bowl or ramekin. Add 1/6 cup of cold water (you can go over by a couple teaspoons), stir, and set aside to bloom (i.e., absorb the water and soften).
Prep the sugar: Add your sugar, corn syrup, salt, and 1/6 cup of water to a medium saucepan. You don't even need to stir it. Set aside.
Prep the powder coating: Measure your cornstarch and powdered sugar into a small bowl or resealable container. Stir to combine but don't worry about it being lumpy -- you'll be sifting it onto everything anyway. Set aside.
Prep the equipment: Grease everything. Grease the bowl of the mixer up to the rim. Grease the heads of 2 spatulas. Grease your bread pan up to the rim. If your cat likes to get all up in your fries while you're cooking, grease your cat. (It'll thank you later.) Use whatever fat and application method you like best -- I like peeling the paper back from the end of a stick of butter and rubbing it over the surface of the object to be greased, then using my fingers to apply the coat evenly and completely.
Okay.
METHOD
Set up your stand mixer so it's ready to go, and add the bloomed block of gelatin to the mixer bowl. Get out your candy or probe thermometer.
Next you're gonna cook the sugar mixture to the soft ball stage (240 degrees F/120 C). Place your saucepan full'o'sugarstuff over medium heat, swirling the pan occasionally to ensure even heating. (Because sugar likes being in a crystal state, you generally don't want to agitate sugar mixtures by stirring them -- if you stir, it'll be more likely for a rogue sugar crystal to become the nucleation center of crystallization and make the mixture go grainy. Corn syrup, being syrupy & therefore a stabilizer, helps prevent that, and that's why candy recipes call for it.) When the sugar starts to bubble, place your thermometer of choice in the pan and swirl the mixture continually until the sugar reaches 240 degrees F (120 C). Immediately take the pan off the heat. Turn your stand mixer on its lowest setting, and slowly (carefully, respectfully) pour the sugar syrup down the side of the mixer bowl towards the bottom. The goal here is to keep the syrup moving without risking it hitting the whisk and splattering you. That would be bad.
Once all/most of the syrup is in the mixer (a little syrup loss is totally acceptable), crank the mixer up through its settings until it's going full-tilt. Set a timer for 15 minutes.
While the mixer's doing its thang, prepare your bread pan: Put a tablespoon or two of your powder mixture in the fine-mesh sieve and tap a good, thick layer of powder into the bottom of the pan, and a finer coating up along the sides. Unlike buttering & flouring a pan for baking, you don't want to tap the edges of the pan to move the powder around -- it'll clump and stick. Just sift it in there and set the pan aside until the timer goes off.
When the timer goes off, peer into your mixer bowl and take note of the texture of the batter -- it'll be sticky and stringy as the whisk moves through it. Measure out your vanilla extract, turn the mixer speed down to low, and pour in the vanilla. Give it a few seconds to incorporate, then turn the mixer speed back up to high for ~1 minute, or until the 'mallow batter reaches about the same stringy consistency that it had before you added the vanilla.
Time to get the marshmallow batter into the pan. You'll have to work very quickly because the batter will become stiff and difficult to remove from the mixer's bowl in less than a minute. Put your greased spatulas within reach and turn off the mixer. Clean off the mixer's whisk first, using one spatula to gather batter and the second to scrape the batter off the first spatula and into the mixing bowl (or straight into the waiting bread pan, whichever's easier depending on your mixer setup). Using the same gather/scrape method, firmly scrape the rest of the batter out of the mixing bowl and into the pan. You can just kinda glop it in there -- the important thing is getting as much as possible out of the bowl before it sets.
Once you've got all the batter you're gonna get in the pan, use your spatulas to press the batter down into the pan evenly, pushing it into the corners and flattening it out. You should still be working kinda quickly, but this part is much more forgiving. Don't be afraid to press down pretty firmly. If any unaesthetic ridges or stringy trails form along the surface, just run your hands under the faucet, flick off the excess water, and gently smooth the batter out with your damp fingertips.
When you're satisfied with your 'mallow loaf, set the pan somewhere where it won't be disturbed for ~4 hours (or up to overnight). You can tent it very loosely with tin foil or a paper towel if you're afraid of things (dust, kids, dogs, etc.) getting into it, but you really want the loaf to be able to breathe and dry out, so don't cover it completely.
(Cleaning up after this step won't be as terrifying as it seems 'cause marshmallow goo, while tough to wrangle out of a bowl and into a pan, is easy to wash up. It's made entirely of things that dissolve in water. Yay science!)
Once the loaf has rested for 4+ hours, get out a cutting board and sift a good layer of your powder mix on its surface. Sift a layer of the powder on top of the 'mallow loaf, too, then turn the loaf out onto the cutting board. Cut the loaf into 3 or 4 strips lengthwise, dust the whole thing with more powder, and dip the cut edges of the strips into the powder on the board. Then push the strips back together into loaf form and cut the strips widthwise into squares (or rectangles, rhombuses, or other quadrilaterals; no one will care if the delicious homemade marshmallows you give them are kinda misshapen). Dust the whole thing with yet more powder.
Pull one of the marshmallows away from the rest, dip each cut side in the powder on the board, and then dust the excess powder off with your fingers, taking special care to make sure that there's no buildups of powder stuck in the marshmallow's crags and crevices (that would not be delicious, and can get gross and grainy if you let it sit).* Toss the finished marshmallow back into a large plastic bag (don't cramp your 'mallows). Repeat with each of the marshmallows.
*Boyfriend's hack for this step, which works nearly as well and takes like three seconds rather than 15 minutes: Pull a couple handfuls of well-powdered marshmallows apart from each other and toss them in a colander, then, over your sink, shake and toss the marshmallows to coat with powder.
You can store the marshmallows for up to a month in a sealed plastic bag or other airtight container -- they might get a bit stale around the edges after the first couple weeks, but will still be delicious, especially when roasted over fire/melted in cocoa.
